Getting Started
Welcome to Getting Started with WordPress Tutorials. The following pages will cover:
- Navigating the WordPress environment.
- How to add pages to your website or blog.
- How to change the look and feel of your site with WordPress themes.
- Adding content to pages
- Adding a menu to your site.
Requesting a WordPress Site
Bridgewater College provides WordPress for students and faculty at no charge. Because WordPress is not linked to your Bridgewater login credentials, you need to request a WordPress site. Requesting a site is simple! All you have to do is contact the Digital Scholarship Gurus at gurus@bridgewater.edu with your name, email, and username.
Once your site and account is created, you will receive an email with your username and temporary password. Your WordPress username will be the same as your Bridgewater College username. Typically each student is allowed to have one WordPress site unless the site pertains to a club or organization on-campus.
Logging in to the WordPress Environment
To login to your WordPress account, go to wp.bridgewater.edu
Then click “WP Login” in the top right-hand corner of the screen. Afterwards, you will see a screen that looks like this:
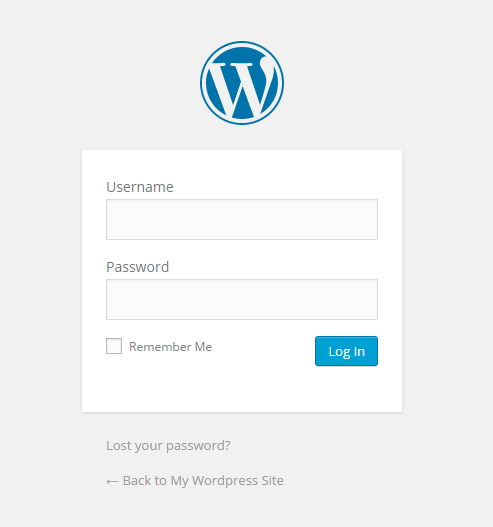
You will log in with your Bridgewater username, such as “jdoe” and the temporary password you received in an email that you can change. You do not need the @eagles.bridgewater.edu after the username to login!
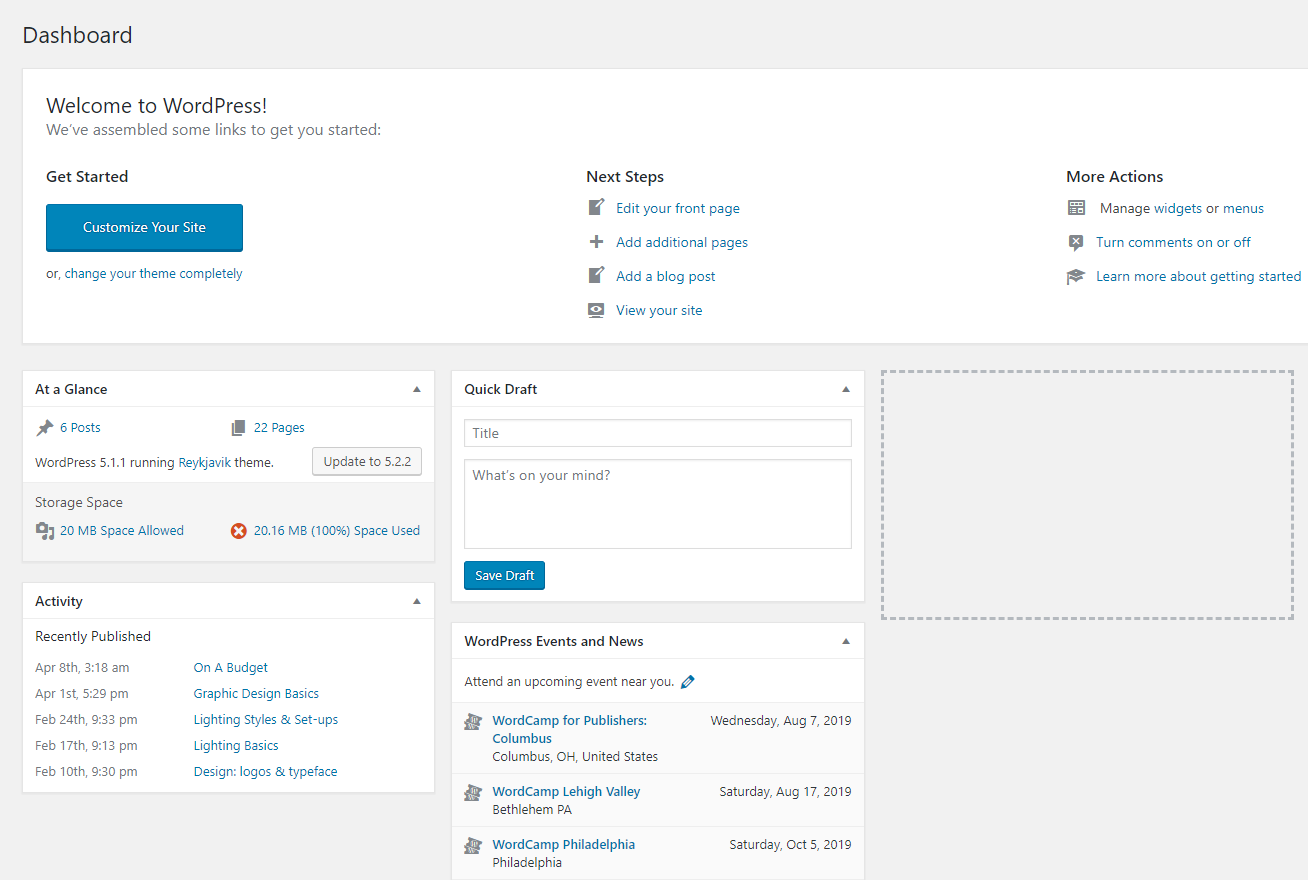
Once you are logged in, you will land on the dashboard for your site. From here you will be able to customize and add content to your site.
Changing your Password for the First Time
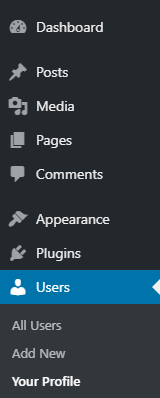 The first time you log in you’re going to want to change your temporary password to something you can remember. To change your password, select Users from the left hand navigation bar. Then select Your Profile from the box.
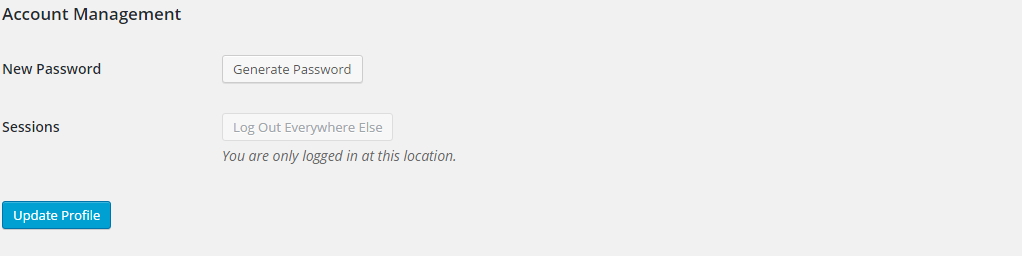
From there, scroll to the bottom of the page until you see Account Management. Click the Generate Password button and a new string of random numbers and letters will appear in the box. Delete this and replace it with whatever you want your new password to be. Click “Update Profile” to save your new password.
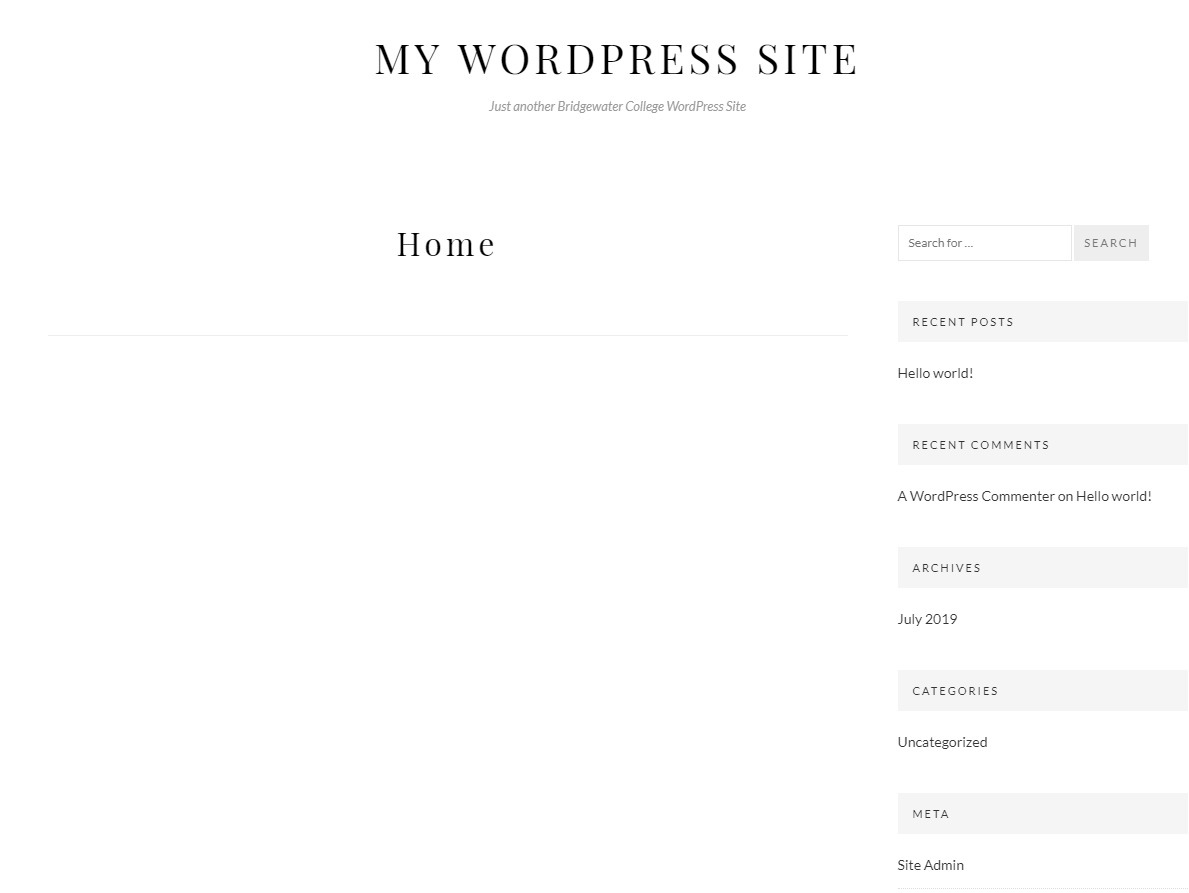
Viewing Your Site
Now that you are logged in and changed your password, you probably want to see what your site looks like. At the top of the page, you will see a little house icon and the title of your site. Clicking this icon enables you to view your site. This is what other people see when they navigate to your WordPress site!
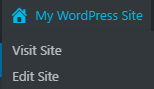
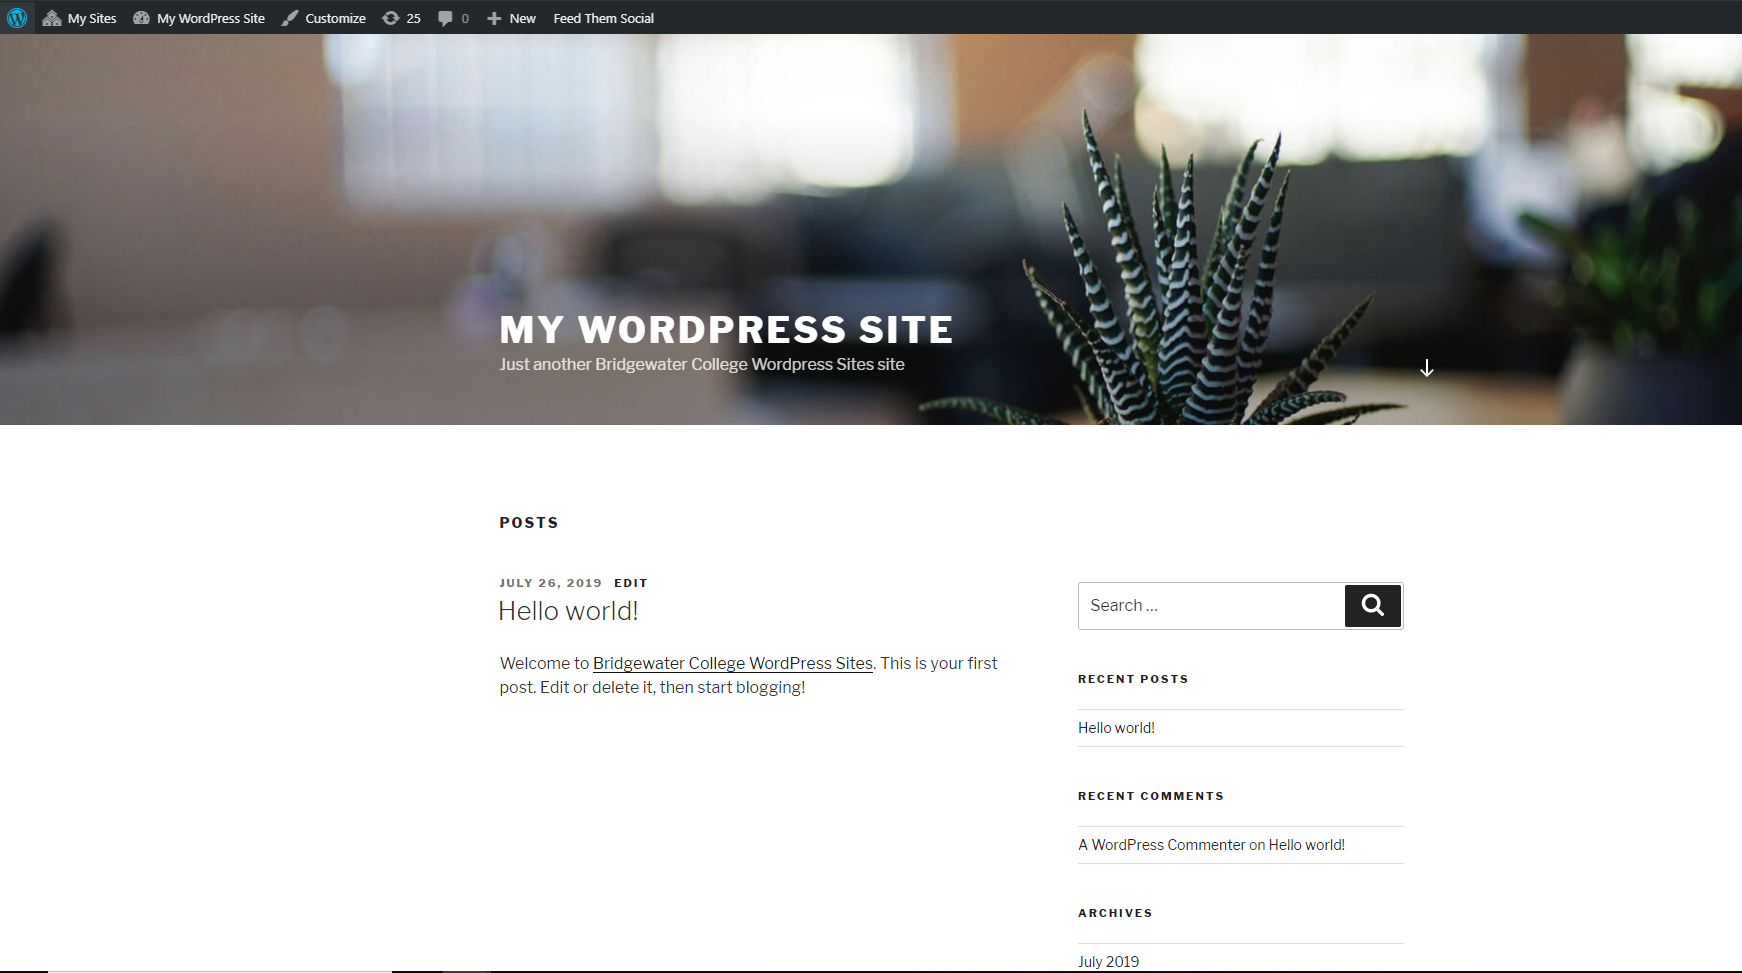
Right now, there is not much to look at. Next we are going to turn this blank slate into something awesome! Let’s go back to the Dashboard and take a look at a few other controls before we dive in adding pages and content. To navigate back to the Dashboard, you can either click the WordPress symbol in the top left or click on the site name and select Dashboard.
![]()
Creating a Static Homepage
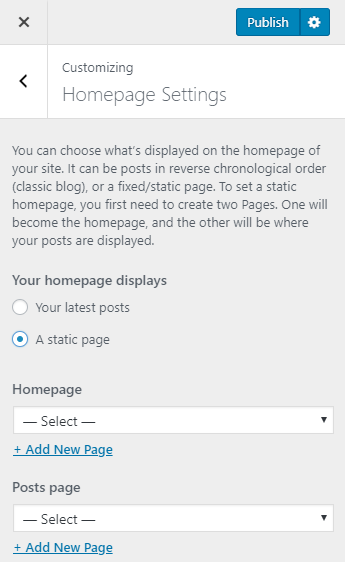
First, let’s to make your homepage a static page, rather than a blog page that shows your recent posts. To do this, in your Dashboard, navigate to Appearance and then go to Customize. From there, click the Homepage Settings option and change the selection to “A static page”. Then select the page that you want to be the homepage of your site. If you do not have a homepage, select “Add New Page” and title the page “Home”. Remember to click “Publish” to save the changes. You can see we no longer have the “Hello World” blog post showing, but instead a page of static text.
Now we’ve set up the basics for our theme! It is amazing how powerful a tool like WordPress can really be, and your own creativity is the only limit. The next step is adding content to our site.
Next Session: Dashboard Navigation